Welcome to the comprehensive guide for assembling your Storkcraft crib! These instructions ensure a safe, sturdy, and stylish setup for your baby’s comfort and security.
Overview of Storkcraft Cribs
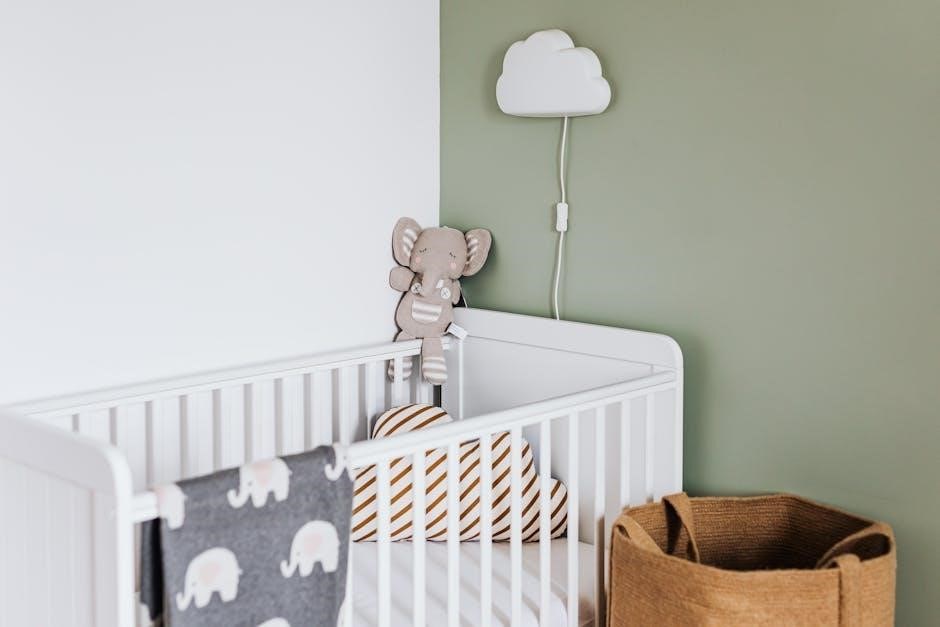
Storkcraft cribs are renowned for their safety, durability, and stylish designs, offering a perfect blend of functionality and aesthetics for nurseries. Known for their 4-in-1 convertible cribs, Storkcraft products transition seamlessly from a crib to a toddler bed, daybed, and even a full-size bed. Easy assembly and sturdy construction make them a popular choice for parents. Their cribs are designed with safety in mind, adhering to strict standards, and come with clear instructions for hassle-free setup. This ensures a secure and comfortable environment for your baby to grow and thrive.
Importance of Following Assembly Instructions
Following the assembly instructions for your Storkcraft crib is crucial for ensuring your baby’s safety and the product’s durability. Proper assembly guarantees that all parts function correctly, minimizing risks of structural failure. Incorrectly assembled cribs can pose hazards, such as loose joints or unstable frames. By adhering to the provided steps, you ensure a secure environment for your child. Additionally, following instructions helps maintain the product’s warranty and longevity, providing peace of mind for parents. Always take the time to carefully read and follow each step to achieve a safe and sturdy crib setup.
Safety Guidelines Before Assembly
Always read the manual thoroughly and ensure all parts are accounted for before starting. Keep small components out of reach of children to avoid choking hazards.
Warning: Choking Hazards and Small Parts
Small parts, such as screws and bolts, can pose a choking hazard to children. Ensure all components are securely tightened and out of reach. Always store the assembly instructions in a safe place for future reference. Adult supervision is required during assembly to prevent accidents. Keep loose items away from children to maintain a safe environment. Properly securing all parts ensures the crib’s stability and your baby’s safety.
Reading Instructions Carefully
Reading the instructions thoroughly is crucial for safe and proper assembly of your Storkcraft crib. Take time to understand each step and warning to avoid mistakes. Pay attention to safety precautions, such as securing small parts to prevent choking hazards. Follow the step-by-step guide to ensure stability and durability. Keep the manual handy for future reference. Carefully reading the instructions helps you assemble the crib correctly, ensuring your baby’s safety and comfort. Proper assembly prevents potential risks and guarantees a sturdy, reliable crib.

Preparation for Assembly
Before starting, gather all tools and components, ensuring nothing is missing. Clear a spacious work area for efficient assembly. Organize parts by size and type.
Tools and Materials Needed
To assemble your Storkcraft crib, you will need a few essential tools and materials. Start by gathering an Allen wrench, which is typically provided in the packaging. Additionally, a screwdriver may be required for certain parts. Ensure all hardware components, such as bolts, screws, and washers, are included. Verify the presence of instruction manuals and any additional guides. It’s crucial to have all materials ready to avoid delays during assembly. Double-check the packaging to ensure no parts are missing before you begin.
Gathering All Components
Before starting assembly, carefully unpack and identify all components of your Storkcraft crib. This includes the crib frame, sides, back panel, mattress support, hardware (bolts, screws, and washers), and any conversion kits if applicable. Refer to the instruction manual for a detailed list of parts. Ensure all items are accounted for to avoid delays. Organize the components in a logical manner, grouping similar parts together. This step is essential for a smooth and efficient assembly process. Double-check for any damaged or missing pieces before proceeding.

Step-by-Step Assembly Process
Begin by attaching the mattress support, followed by assembling the crib frame. Next, secure the sides and back panels, ensuring all bolts are tightly fastened for stability.
Attaching the Mattress Support
Start by unpacking the mattress support frame and legs. Align the support with the crib base, ensuring all pre-drilled holes match. Use the provided screws to secure the frame to the legs tightly. Double-check that all connections are firm and the support is level. This step is crucial for the crib’s stability and your baby’s safety. Refer to the manual for specific screw locations and tightening instructions to avoid any errors during assembly.
Assembling the Crib Frame

Begin by unpacking the crib frame components, including the sides, front, and back panels. Align the side panels with the front and back pieces, ensuring they fit snugly. Use the provided Allen wrench to secure the panels together with the bolts and cam locks. Tighten firmly but avoid overtightening. Once the frame is assembled, double-check its stability by gently rocking it. Ensure all connections are secure and the frame is level before proceeding to the next step. This step typically takes about 10-15 minutes to complete.
Attaching the Sides and Back Panels
Attach the crib’s side panels to the assembled frame by aligning the pre-drilled holes. Secure them using the provided screws and bolts. Tighten each bolt firmly, ensuring a snug fit. Next, attach the back panel by aligning it with the frame and fastening it using the same method. Double-check all connections for stability and ensure no gaps are present. Use a level to confirm the panels are properly aligned. This step ensures the crib’s structural integrity and safety for your baby.
Converting the Crib
Convert your crib into a toddler bed, daybed, or youth bed using the 4-in-1 feature. Follow step-by-step instructions for each transition to ensure safety and proper adjustment.
Understanding the 4-in-1 Convertible Feature
The 4-in-1 convertible feature allows your crib to evolve with your child. It transitions from a crib to a toddler bed, then a daybed, and finally a youth bed. This versatile design extends the product’s lifespan, adapting to different growth stages. Each conversion requires specific hardware and adjustments, ensuring safety and stability. Detailed instructions guide you through each step, making the process straightforward. This feature is a practical investment for parents seeking long-term functionality and value.
Step-by-Step Conversion Instructions
Converting your Storkcraft crib is a straightforward process when following the provided guide. Start by removing the mattress and disassembling unnecessary parts. For the toddler bed, detach one side and attach the conversion rail. Transitioning to a daybed involves lowering the mattress support and securing the back panel. Finally, for the youth bed, attach the extended side rails and headboard. Each step requires specific hardware and careful alignment. Always follow the manufacturer’s instructions to ensure stability and safety during the conversion process.

Tips for Easy Assembly
Storkcraft cribs are designed for easy assembly with clear instructions. Gather all tools and parts beforehand, and follow each step carefully. Allocate about 30 minutes for assembly. Ensure all bolts are tightened securely for stability and safety. Organizing components by size and type can streamline the process. Double-checking each step helps avoid errors and ensures a sturdy, safe crib for your baby.
Time Estimates and Assembly Time
Assembling a Storkcraft crib typically takes about 30-45 minutes, depending on the model and your familiarity with DIY projects. The 4-in-1 convertible cribs may require a bit more time due to their additional features. Ensure you have all tools and components ready to avoid delays. Working in a spacious area and following instructions step-by-step will help you complete the assembly efficiently. Plan accordingly to ensure a smooth and stress-free setup for your baby’s crib.
Ensuring Stability and Sturdiness
To ensure your Storkcraft crib is stable and sturdy, always tighten all bolts and screws firmly during assembly. Use an Allen wrench for secure fastening, as loose parts can compromise safety. Double-check each joint and connection for stability. After assembly, gently rock the crib to ensure it doesn’t wobble. Place the crib on a firm, even surface and avoid overloading it with heavy bedding or toys. Regularly inspect the crib for any signs of wear or loosening hardware to maintain its sturdiness and safety for your baby.

Common Mistakes to Avoid
Common mistakes include ignoring safety precautions, not tightening all bolts, and misaligning parts, which can lead to instability. Always double-check each step for proper assembly.
Forgetting to Tighten All Bolts
One common mistake is neglecting to tighten all bolts and screws during assembly. Loose connections can lead to instability, posing a safety risk for your baby. Always ensure every bolt is securely tightened using the provided Allen wrench. Double-check each joint and frame connection for stability. Refer to the assembly manual for specific torque requirements. Proper tightening ensures the crib’s sturdiness and prevents potential hazards. Never skip this step, as it is critical for your baby’s safety and the durability of the crib.
Ignoring Safety Precautions
Ignoring safety precautions during crib assembly can lead to serious risks for your baby. Always read and follow all warnings, such as avoiding small parts that may cause choking hazards. Failure to secure loose components or improperly assembling the crib can result in instability and potential harm. Keep all small parts away from children during assembly and ensure every piece is tightly fastened. Never skip safety steps, as they are designed to protect your baby. Proper adherence to guidelines ensures a safe and secure crib environment.
Completing the assembly ensures a safe and comfortable space for your baby. Double-check all connections, and ensure stability before use for your child’s safety.
Final Check Before Use
After assembling, perform a thorough inspection of the crib. Ensure all bolts are tightened securely, and no gaps or loose parts exist. Verify the mattress fits snugly, with no overhang. Double-check that all sides are stable and the crib stands level on the floor. Test the crib’s sturdiness by gently rocking it. Finally, place a firm, tight-fitting mattress and check that the crib meets all safety standards before allowing your baby to use it.