The Honeywell T6 Pro Thermostat is a programmable‚ Wi-Fi-enabled device designed for smart home upgrades‚ offering precise temperature control and seamless integration with smart systems.
1.1 Overview of the Honeywell T6 Pro Thermostat
The Honeywell T6 Pro Thermostat is a programmable‚ Wi-Fi-enabled device designed for smart home upgrades. It features a UWP mounting system‚ compatibility with smart home systems‚ and an optional cover plate for seamless installation. The thermostat offers advanced temperature control‚ energy efficiency‚ and remote access through the Honeywell Home app. Its user-friendly interface and robust features make it ideal for modern households seeking precise climate management.
1.2 Key Features of the T6 Pro Series
The Honeywell T6 Pro Series stands out with its advanced programmable scheduling‚ remote access via the Honeywell Home app‚ and energy-saving modes. It features a UWP mounting system for easy installation‚ compatibility with smart home systems‚ and a sleek‚ user-friendly interface. The thermostat also includes optional cover plates for a polished look and supports various heating and cooling systems‚ ensuring versatility and efficiency.
Package Contents
The Honeywell T6 Pro installation package includes the thermostat‚ UWP mounting system‚ junction box adapter‚ decorative cover plate‚ screws‚ and anchors for a complete setup.
2.1 Items Included in the T6 Pro Installation Package
The Honeywell T6 Pro installation package includes the thermostat unit‚ UWP mounting system‚ junction box adapter‚ decorative cover plate‚ screws‚ and wall anchors. These components ensure a smooth and secure installation process‚ providing everything needed to mount and connect the thermostat to your existing HVAC system. The package is designed to accommodate various installation scenarios.
2.2 Optional Accessories (Cover Plate‚ Adapter‚ etc.)
Optional accessories for the Honeywell T6 Pro include a decorative cover plate‚ designed to conceal paint gaps or uneven walls‚ and a J-box adapter for mounting to an electrical junction box. These items enhance installation flexibility and aesthetics‚ ensuring a professional finish. The cover plate is available in a small size (4-49/64 in or 121mm) to fit various setups.

Installation Process
The Honeywell T6 Pro installation involves separating the junction box adapter‚ mounting it to the wall or electrical box‚ and securing the UWP system. Insert wires through the UWP hole‚ place it over wall anchors‚ and tighten the screws for a secure installation. Follow the step-by-step guide in the manual for precise setup.
3.1 Pre-Installation Checklist
Before installing the Honeywell T6 Pro Thermostat‚ ensure compatibility with your HVAC system‚ inspect wiring for damage‚ and prepare the UWP mounting system. Verify the thermostat’s firmware is updated‚ check that all accessories like adapters and cover plates are included‚ and ensure the installation area is clear and safe. This preparation ensures a smooth and successful installation process.
3.2 Step-by-Step Installation Guide
Mount the UWP system to the wall using anchors and screws. Separate the junction box adapter from the cover plate and secure it to the electrical box. Insert wires through the UWP mounting hole‚ then attach the thermostat. Tighten all connections and complete the setup using the Honeywell Home app for final configuration and system testing.
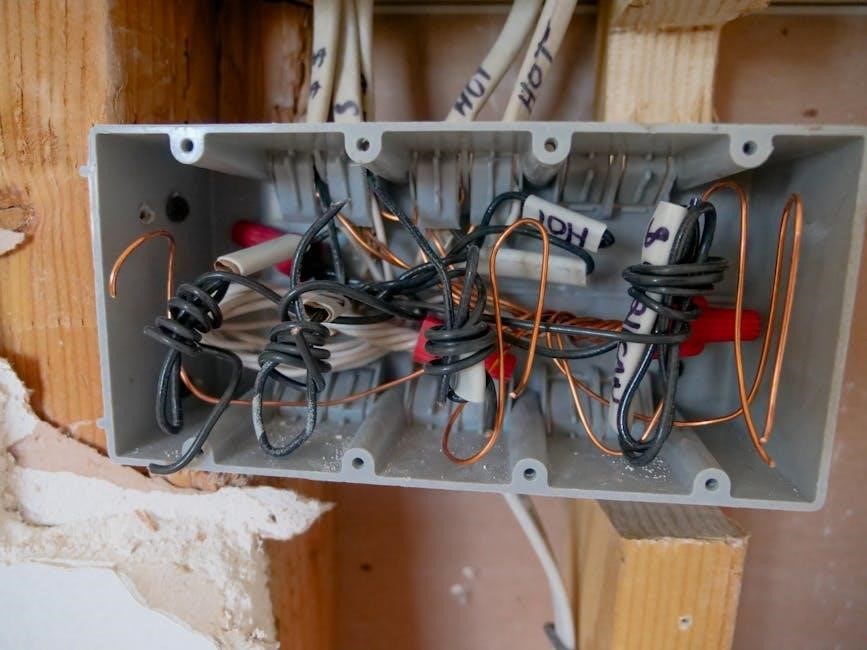
Wiring and Terminal Designations
The Honeywell T6 Pro Thermostat requires precise wiring connections. Key terminals include R‚ W‚ Y‚ G‚ C‚ and O/B‚ each serving specific functions for heating‚ cooling‚ and fan control.
4.1 Understanding Terminal Connections
The Honeywell T6 Pro Thermostat uses specific terminals for wiring‚ including R (24VAC power)‚ W (heating)‚ Y (cooling)‚ G (fan)‚ C (common)‚ and O/B (heat pump). Proper identification and connections are critical for system functionality. Dual-fuel systems may require additional configurations. Always refer to the manual to ensure correct wiring to avoid malfunctions or damage to the thermostat or HVAC system.
4.2 Wiring Conventional Systems (Forced Air and Hydronics)
For forced air systems‚ connect the R‚ W‚ Y‚ G‚ and C terminals as specified. Hydronic systems require connections to the appropriate heat and circulator pumps. Ensure proper wiring to avoid system errors. Always follow the manual’s guidelines for a safe and efficient installation. This ensures optimal performance for both heating and cooling operations.
Mounting the Thermostat
Mount the Honeywell T6 Pro using the UWP system‚ which includes wall anchors and screws. The optional cover plate helps conceal any gaps.
The UWP Mounting System simplifies installation by aligning the thermostat with wall anchors. Separate the junction box adapter from the cover plate and attach it to the wall using screws. Ensure the adapter is securely fastened to the electrical box or wall. Place the UWP over the anchors and tighten the mounting screws to complete the installation. Mount the Honeywell T6 Pro Thermostat to the wall after installing the UWP system. Insert the thermostat into the UWP mounting bracket‚ ensuring it clicks securely into place. Tighten the screws gently to avoid damage. Use the decorative cover plate if needed to cover any paint gaps or uneven surfaces‚ providing a neat and professional appearance. After installation‚ test the Honeywell T6 Pro Thermostat by verifying all system functions‚ including heating‚ cooling‚ and fan modes. Follow the on-screen prompts to configure settings like temperature ranges and schedules. Ensure the thermostat communicates correctly with your HVAC system and smart home devices for optimal performance. After installation‚ power on the Honeywell T6 Pro Thermostat and ensure all system functions operate correctly. Test heating‚ cooling‚ and fan modes to verify proper operation. Check for any unusual noises or malfunctions. Review the wiring connections to ensure they match the terminal designations. Perform a full cycle test to confirm the thermostat communicates effectively with your HVAC system and smart home devices. Configure the Installer Setup Options (ISU) through the advanced menu to customize settings like temperature limits‚ system mode‚ and fan operation. Use the Honeywell Home app to access these options‚ ensuring compatibility with your HVAC system. Proper configuration ensures optimal performance and energy efficiency. Refer to the manual for detailed instructions on navigating and adjusting these settings effectively. Identify and resolve common problems like connectivity issues‚ incorrect temperature readings‚ or system incompatibility. Consult the manual or contact Honeywell support for assistance. Common issues include incorrect wiring‚ connectivity problems‚ and system incompatibility. Users may experience display malfunctions or unresponsive controls. Ensure proper installation steps are followed and compatible systems are used. Refer to the manual for troubleshooting steps or contact Honeywell support for professional assistance. Regular updates and proper setup can prevent many operational issues. For complex issues‚ reset the thermostat to factory settings and reconfigure. Check for firmware updates and ensure all connections are secure. Use diagnostic tools in the installer menu to identify system faults. Consult the Honeywell T6 Pro manual for detailed troubleshooting guides or contact technical support for specialized assistance. Regular system checks can prevent recurring problems. The Honeywell T6 Pro is compatible with most HVAC systems‚ including forced air and hydronics. It supports smart home integration via Wi-Fi and geofencing technology. The Honeywell T6 Pro features a 7-day programmable schedule‚ geofencing‚ and voice control compatibility. It operates on 24V AC and handles stages up to 3 heat/2 cool. Energy reports and smart alerts enhance efficiency. The thermostat measures 4.5 inches (H) x 4.29 inches (W) and supports C-wire or battery operation‚ ensuring versatile installation options. The Honeywell T6 Pro integrates seamlessly with Amazon Alexa and Google Assistant‚ enabling voice control. It also works with SmartRent and Resideo systems. Compatibility with Apple HomeKit ensures enhanced smart home automation. The thermostat can be controlled remotely via the Honeywell Home app‚ offering flexible scheduling and system monitoring. This integration simplifies energy management and enhances home comfort. The Honeywell T6 Pro manual PDF is available for download on Honeywell’s official website. Additional support resources include the Honeywell Home app and customer support contact options. The Honeywell T6 Pro manual PDF is easily accessible on Honeywell’s official website. Users can download it directly by visiting the support section‚ ensuring they have the latest installation and operational guidelines. Additionally‚ the Honeywell Home app provides a digital version of the manual‚ offering convenient access to setup and troubleshooting instructions. This resource is essential for installers and homeowners alike. For assistance‚ contact Honeywell Customer Support at 1-800-468-1502 or visit customer.honeywell.com. Support is available 24/7 to help with installation‚ troubleshooting‚ and replacement information‚ ensuring a smooth experience with your T6 Pro thermostat.5.1 UWP Mounting System Installation
5.2 Mounting the Thermostat to the Wall
System Testing and Setup
6.1 Performing a System Test
6.2 Configuring Installer Setup Options
Troubleshooting Common Issues
7.1 Common Installation and Operational Problems
7.2 Advanced Troubleshooting Techniques

Specifications and Compatibility
8.1 Technical Specifications of the T6 Pro
8.2 Compatibility with Smart Home Systems
Customer Support and Resources
9.1 Accessing the Honeywell T6 Pro Manual PDF
9.2 Contacting Honeywell Customer Support